Introduction:
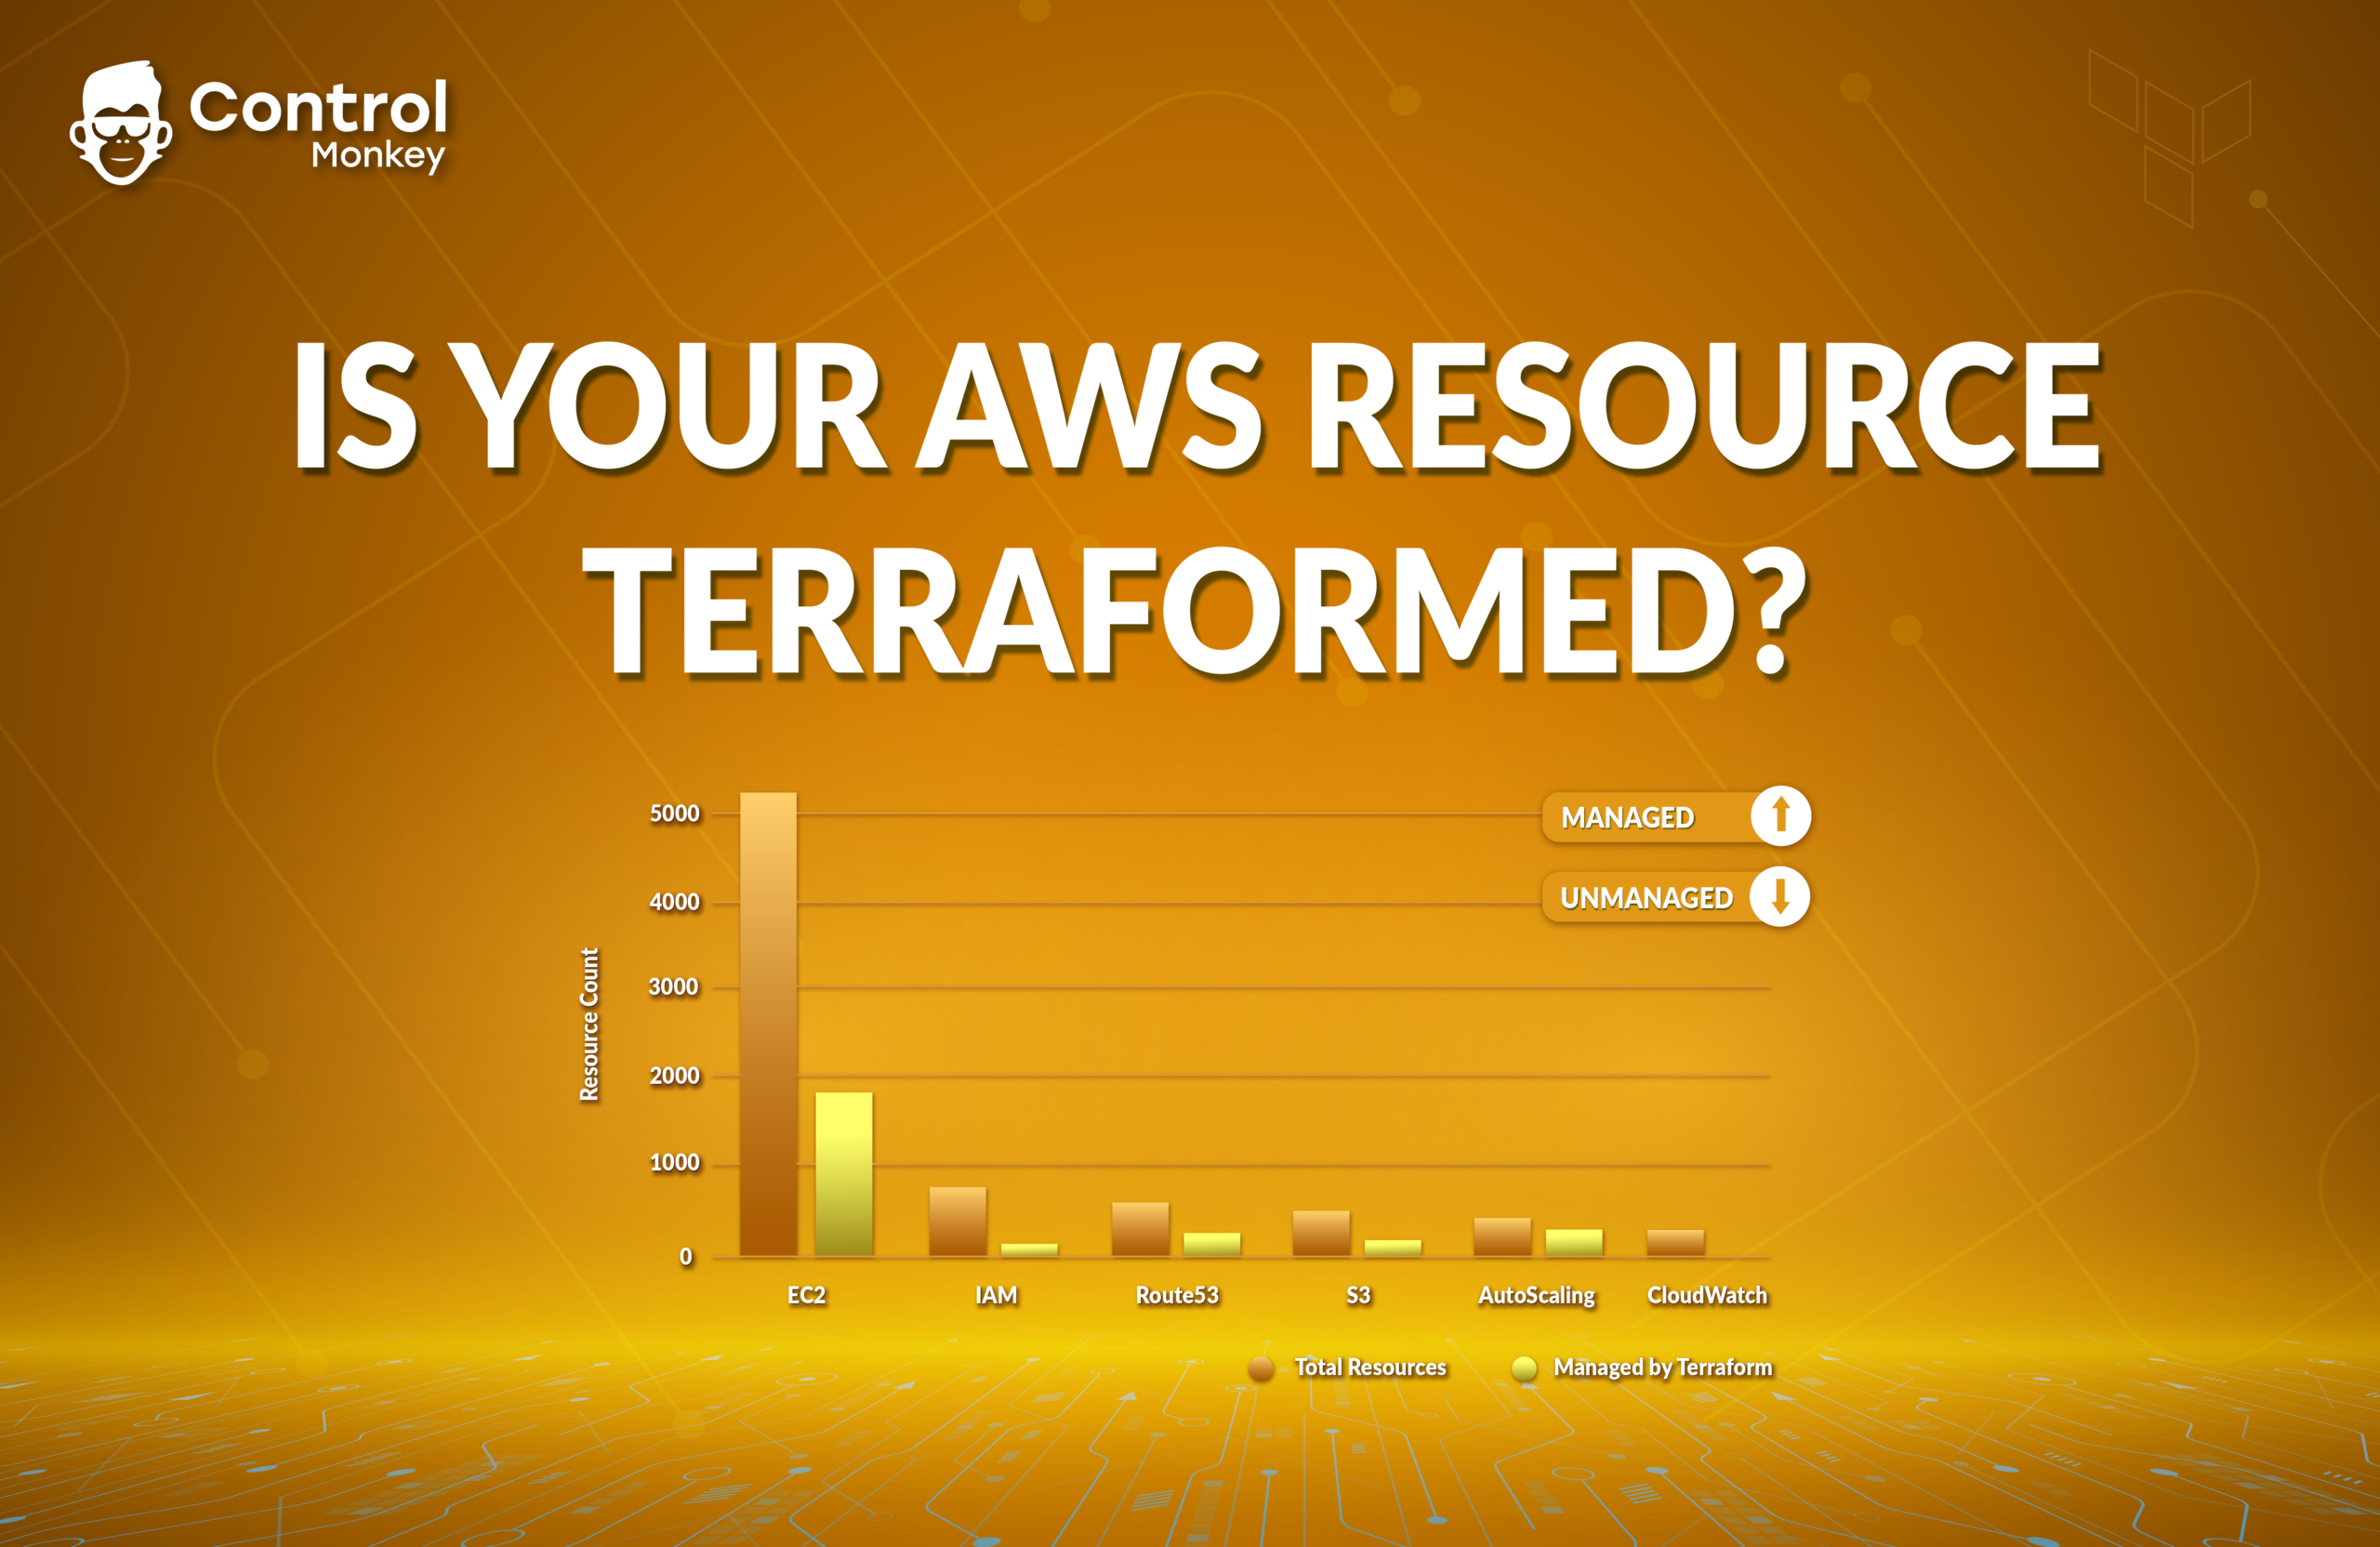
When you’re working with AWS and Terraform, it’s essential to know which AWS resources are under Terraform’s control and where the corresponding code resides.
Tagging resources with a tag key like ‘Is managed by Terraform’ might be adequate for new resources, but this doesn’t offer a comprehensive solution for “older” resources that lack this tag. Additionally, the solution does not provide you with a mapping to a specific line of code, especially when your code is constantly changing and is not static.
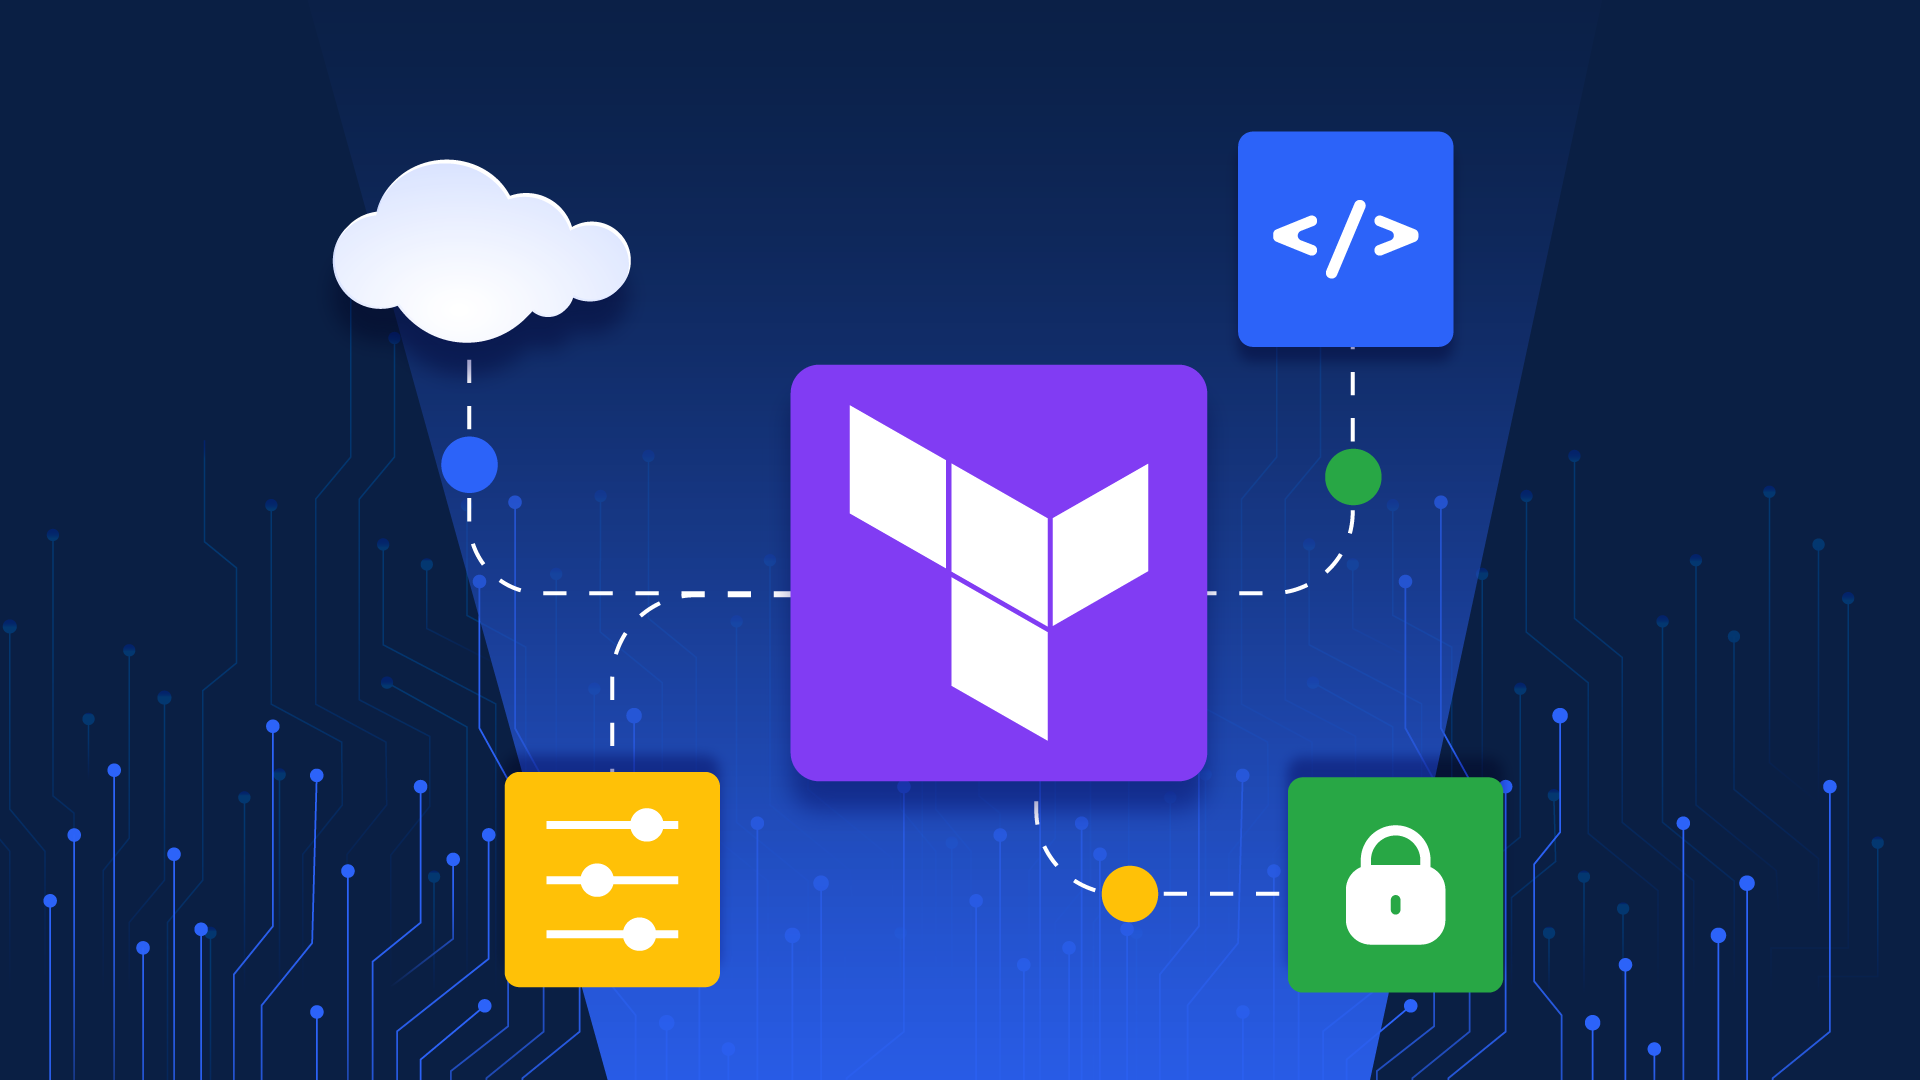
In this blog, we’ll guide you through the process of inspecting your entire AWS inventory, intersecting it with your Terraform code and your Terraform state file to create a complete mapping of your managed resources. This will help you determine your Terraform coverage and easily locate the code responsible for managing specific AWS resources.
The Scenario: A New DevOps Engineer Joins the Team
Imagine you’re a new DevOps engineer who has just joined a team with an extensive Terraform codebase comprising tens of thousands of lines. Your first task is to add a tag to a subnet. To accomplish this, you need answers to two critical questions:
1. Is this subnet managed by Terraform?
Before making any changes, you want to ensure that the subnet is indeed controlled by Terraform. Otherwise, making changes directly in the AWS Console might lead to inconsistencies in your infrastructure and to a resource drift.
2. Where is the code that is managing this subnet?
Once you confirm that Terraform is responsible for managing the subnet, you need to pinpoint the exact location in the Terraform code where this resource is configured. Looking for the exact location in thousands of lines of code can be daunting, time-consuming, and a very frustrating task, because the AWS resource ID is not included within your Terraform code; instead, your Terraform code contains solely the logical identifier of the corresponding Terraform resource, so it kind of feels like searching for a needle in a haystack.
Unveiling AWS Resources Managed by Terraform
Now let’s see how to build this mapping between your AWS resources and your Terraform code to answer the 2 questions mentioned above.
Step 1: Build an AWS inventory
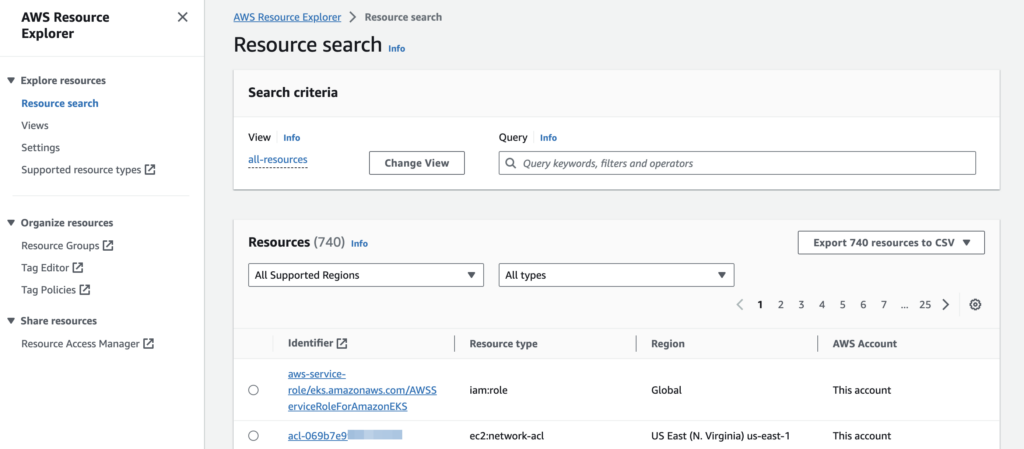
The initial step involves creating an inventory of all assets running within your AWS environment. AWS offers a comprehensive list of currently active resources within your account with the ‘AWS Resource Explorer’ service.
This inventory is essential as it establishes the foundation for recognizing and assessing your AWS resources’ current state.
Step 2: Read your Terraform State Files
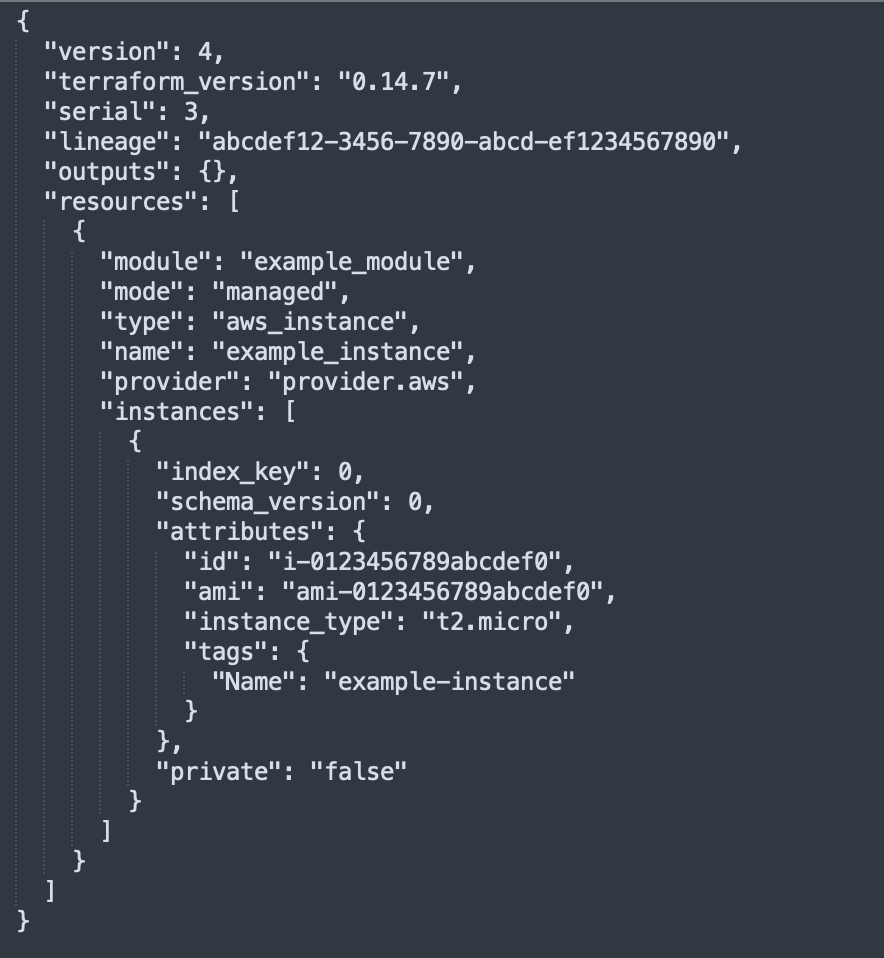
Your Terraform state files, typically named ‘terraform.tfstate,’ contain essential information about your infrastructure – This file contains JSON-formatted mapping of defined resources and existing infrastructure. Terraform uses it for comparison and adjustments.
Usually, you’ll keep the state file in an S3 bucket.
It serves as the bridge between your AWS resources and Terraform configurations.
This file contains the logical ID and the physical ID of each resource managed by Terraform.
The physical ID is the identifier of those resources in AWS and the logical ID is the name you gave to those resources in your Terraform code.
Step 3: Intersect AWS Inventory with Terraform State
The next step would be to map the physical IDs to your AWS inventory.
Usually, the physical ID will be the ARN/ID/Name of the AWS resource, so you’ll need to have a mapping of the AWS resource type and the property that provides the identifier for that resource.
For example, for an ec2 instance, you’ll need to map the AWS instance ID to the “id” attribute in the state file.
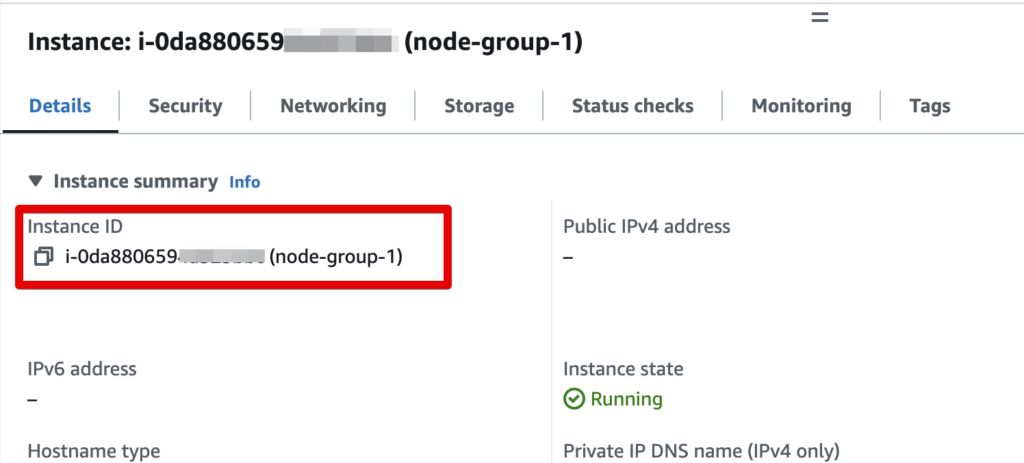
Now you know which resources are managed or used to be managed by Terraform.
Locating the Corresponding Terraform Code
Step 4: Scan Your Terraform Codebase
With the mapping in hand, you can now focus your search within your Terraform codebase, in your Git repository.
While scanning your Terraform codebase you need to realize which Terraform directory is mapped to which state file. You can do that by locating the ‘backend’ block within your code.
For example:
terraform {
backend “s3” {
bucket = “my-bucket-for-state-files”
key = “my-stack/terraform.tfstate”
region = “us-east-1”
}
}
Now that you know where the state file for this unit of infrastructure is, you can map the logical IDs from the state file to the Terraform resource names within the code.
With this mapping in place, you can now pinpoint for each AWS resource the specific corresponding line of code in your Git repository.
Conclusion
New team members like our hypothetical DevOps engineer face challenges in identifying managed resources and locating corresponding code, especially when dealing with a large codebase.
That’s where ControlMonkey comes to the rescue.
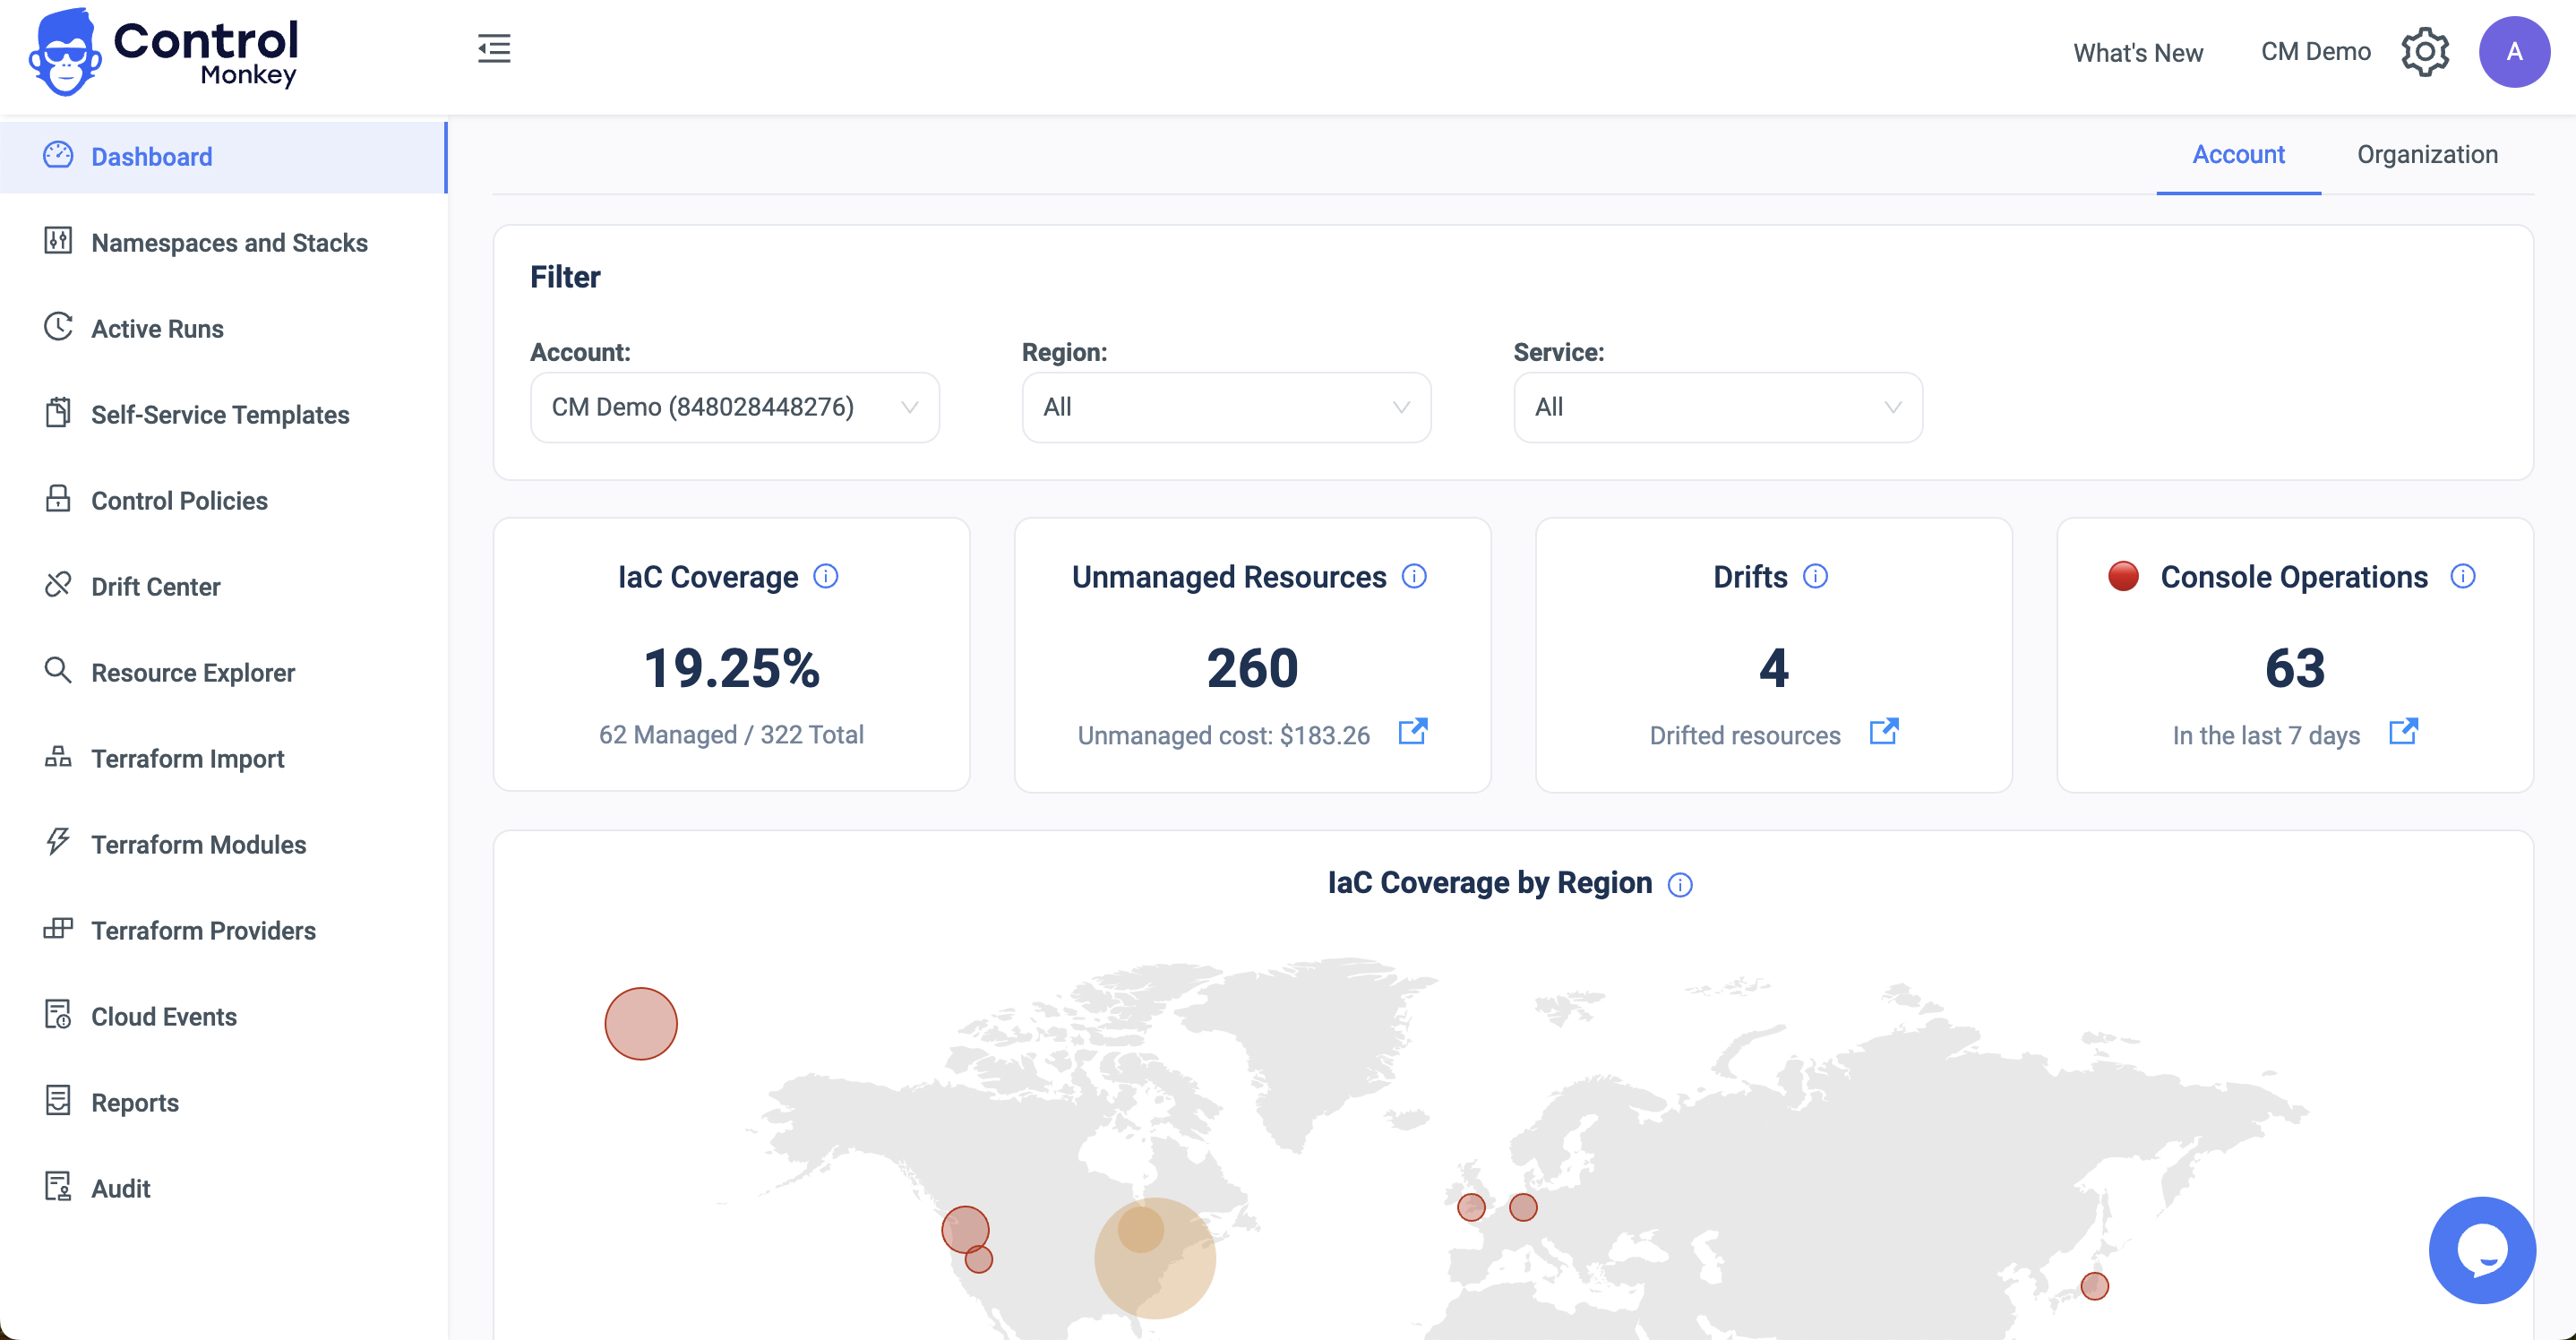
ControlMonkey integrates with your AWS account and Terraform code in your version control system and builds the required mappings.
Using ControlMonkey’s enhanced resources explorer, you can easily answer the two vital questions for any of your AWS resources:
- Is this resource being managed by Terraform?
- Where is the code managing this resource?
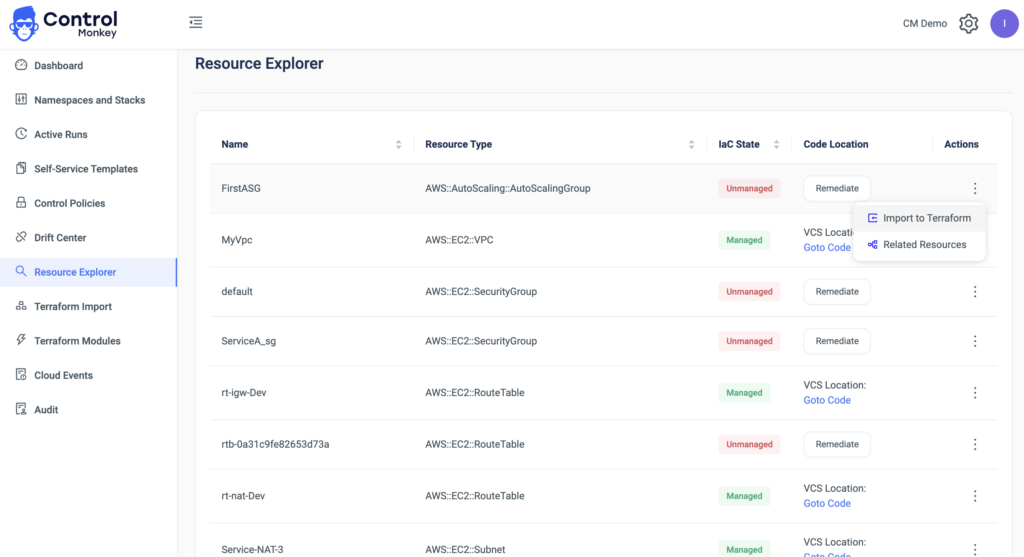
By automating the process of mapping resources and pinpointing code locations, ControlMonkey serves as your Terraform knowledge base, helps to onboard new engineers, streamlines your workflow, and ensures a smooth, consistent infrastructure management experience.


